Create Domain and Hosted Zone
In this step, we will use Amazon Route 53 to register a domain (optional) and create a Hosted Zone that Route 53 will use to manage DNS records for our application.
Registering a domain through Route 53 incurs a registration fee (starting from $15 USD/year depending on the TLD). If you already own a domain registered elsewhere, skip to step 6 to create a Hosted Zone only.
Option A — Register a New Domain via Route 53
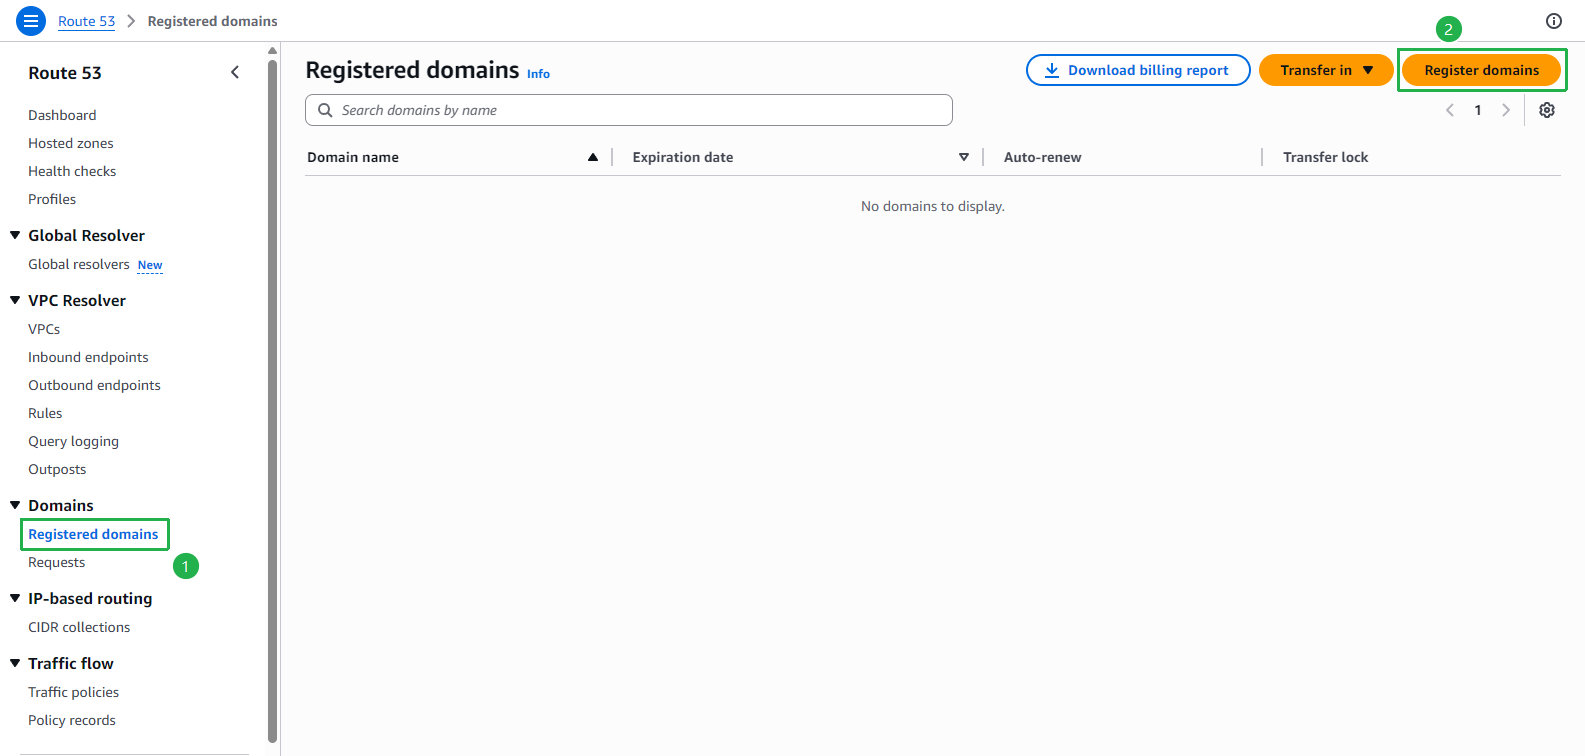
Open Amazon Route 53 and navigate to Domains → Registered domains in the left menu. Click Register domains.
In the Search for domain box, enter the domain name you want to register (e.g.,
fcajbookshop.com). Click Search, then click Selected on the result, and finally Proceed to checkout.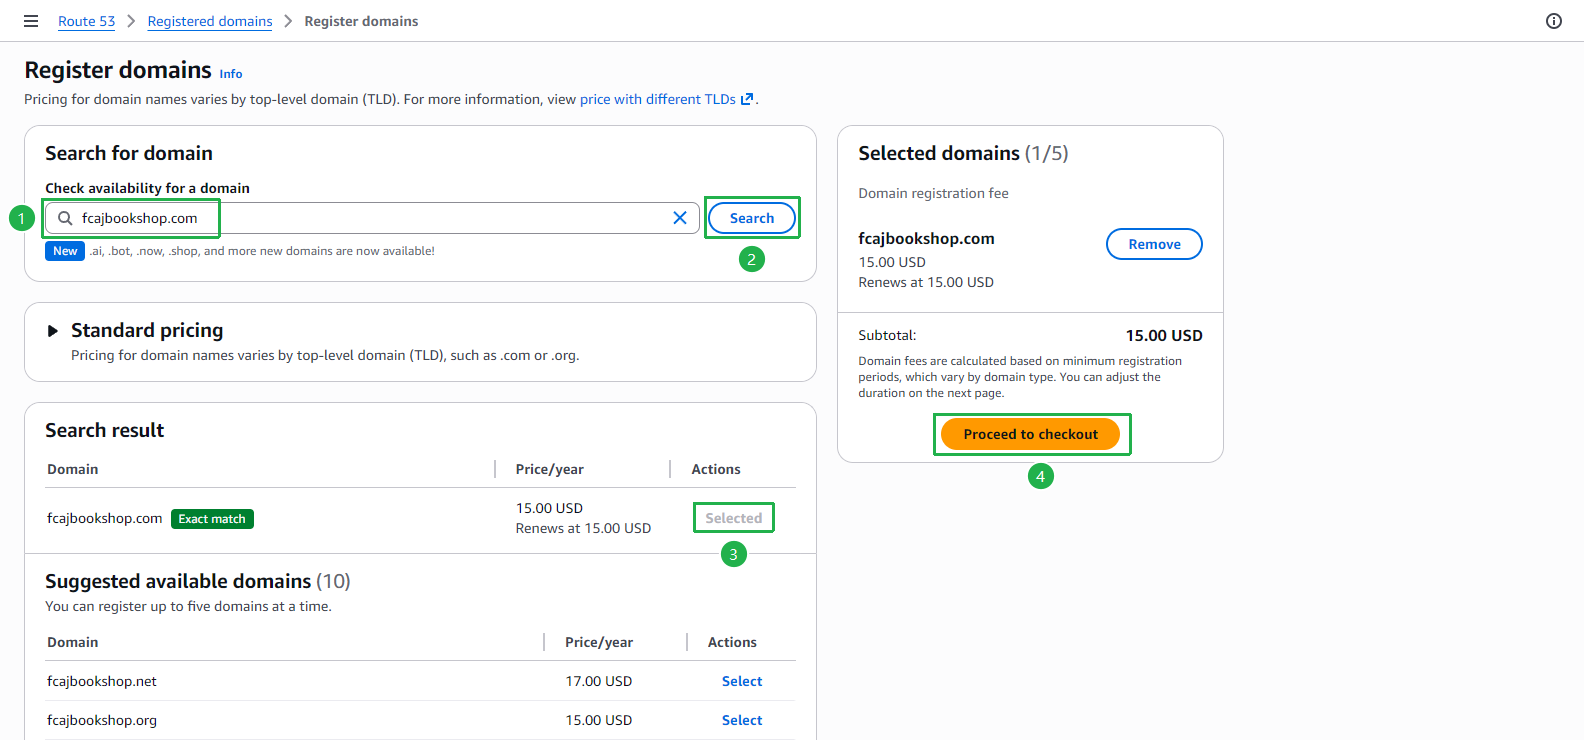
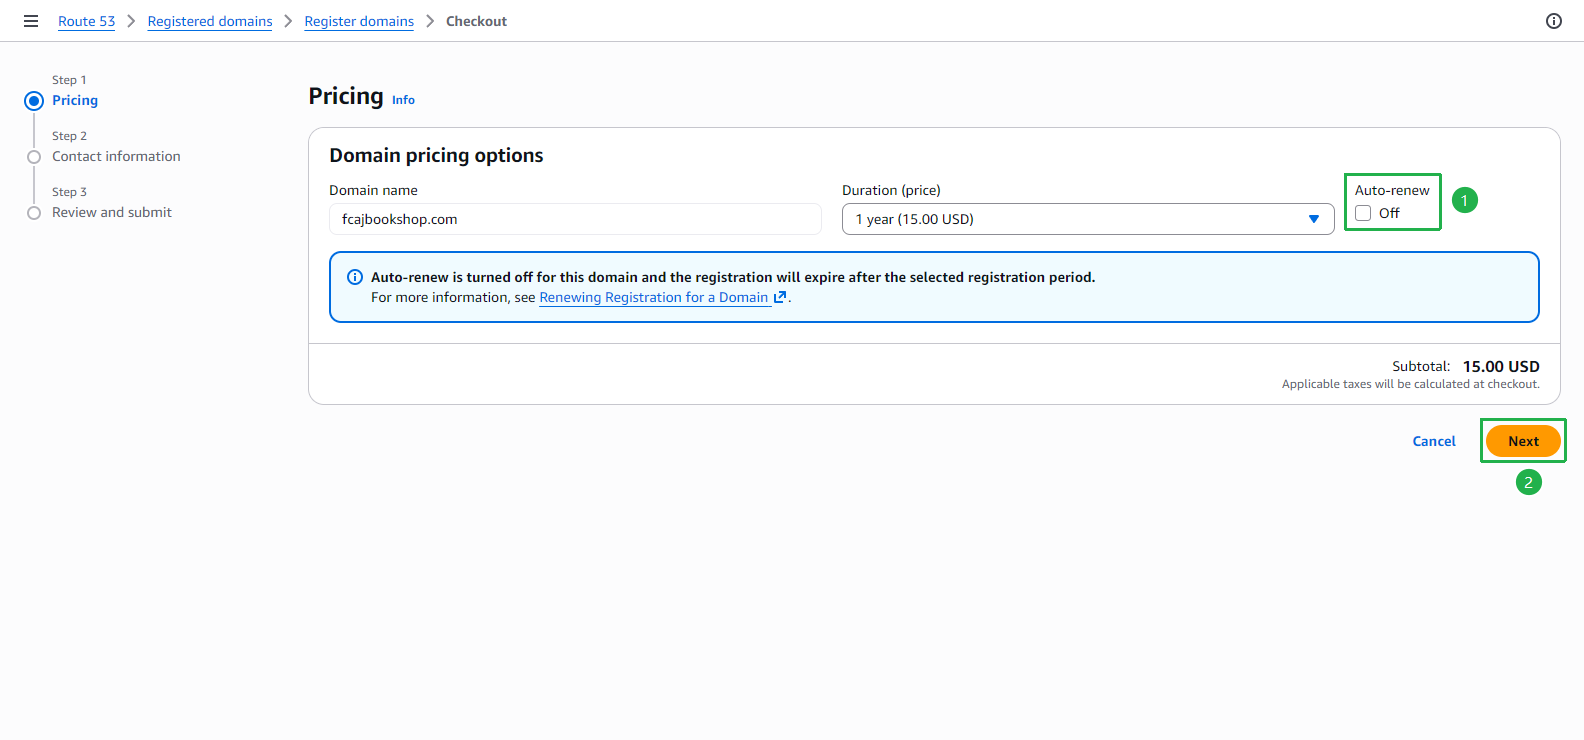
At Step 1 – Pricing, uncheck Auto-renew to avoid automatic renewal charges. Click Next.
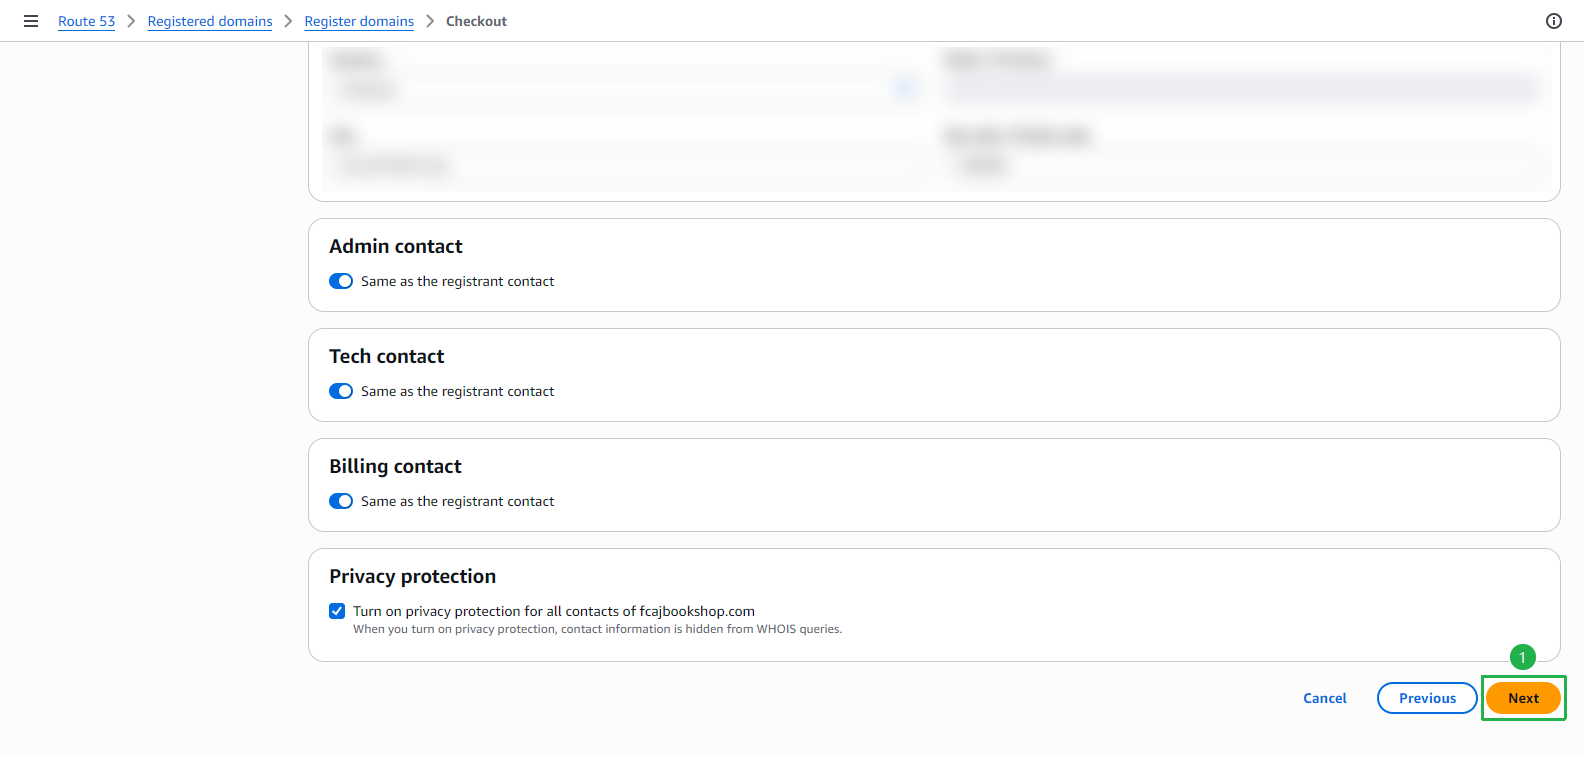
At Step 2 – Contact information, fill in your personal information. Scroll down and click Next.
At Step 3 – Review and submit, scroll down, check the Terms and Conditions checkbox, then click Submit.
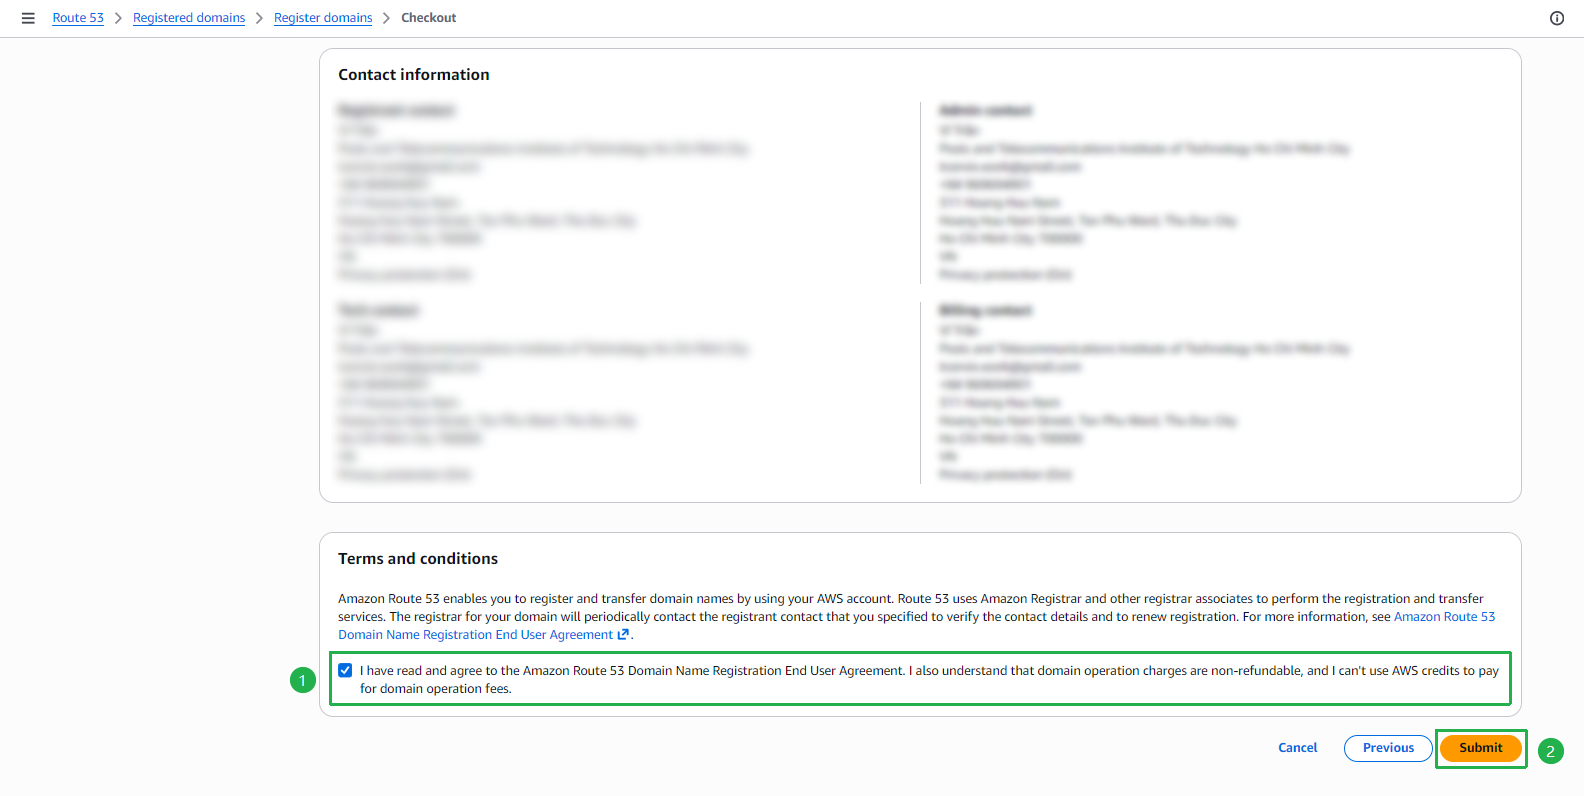
After submitting, Route 53 will automatically create a Hosted Zone for the registered domain. You can skip to section 3.
Option B — Create a Hosted Zone for an Existing Domain
If you already own a domain registered with another provider (e.g., GoDaddy, Namecheap, Tenten, P.A. Vietnam, etc.), follow these steps to create a Hosted Zone and configure DNS manually.
In the Route 53 console, click Hosted zones on the left menu, then click Create hosted zone.
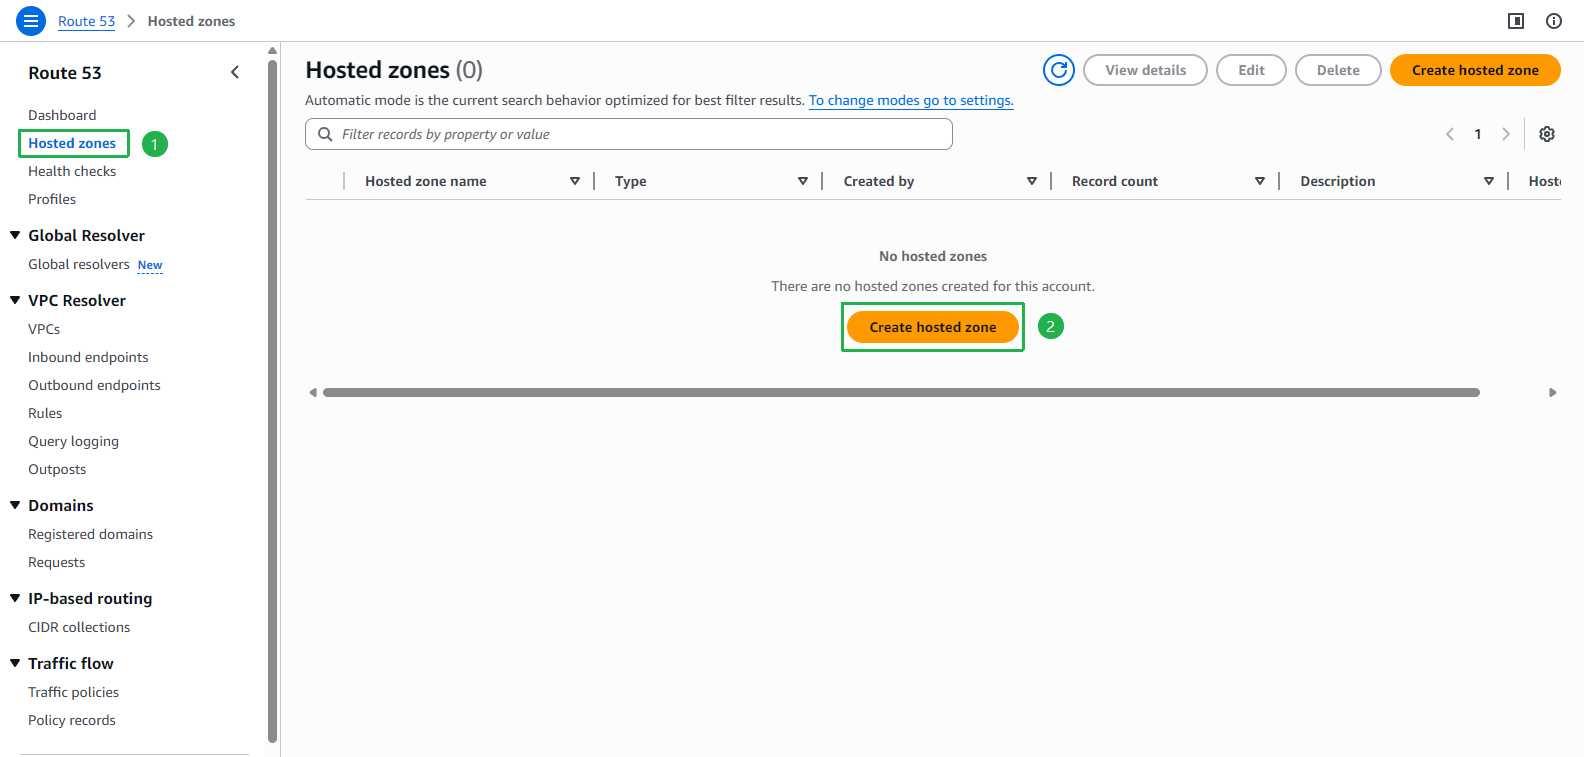
Enter your domain name in the Domain name field (e.g.,
tranvix.click). Keep the type as Public hosted zone. Click Create hosted zone.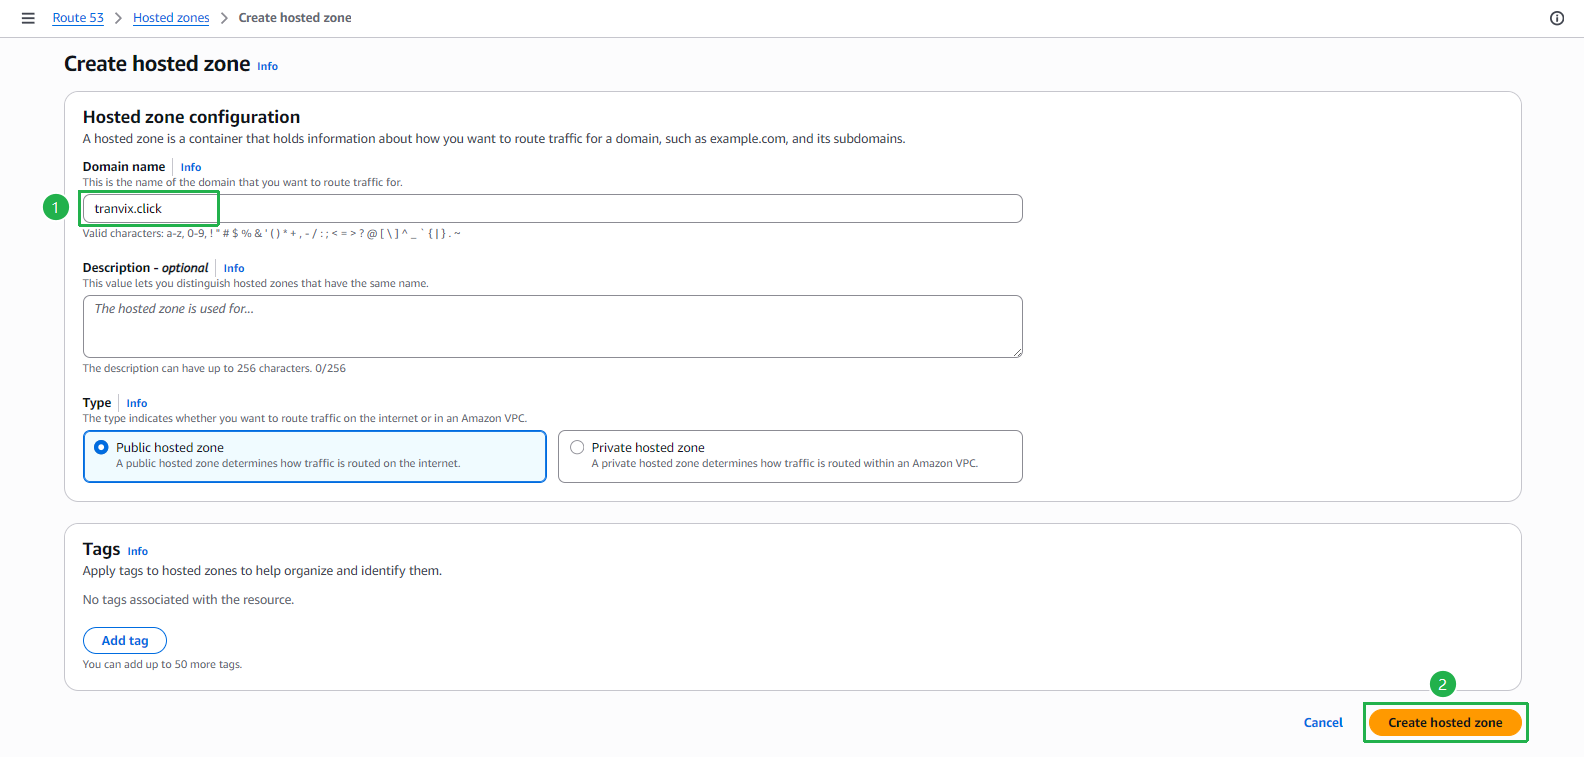
The hosted zone is created with 2 default records: NS (Name Servers) and SOA.
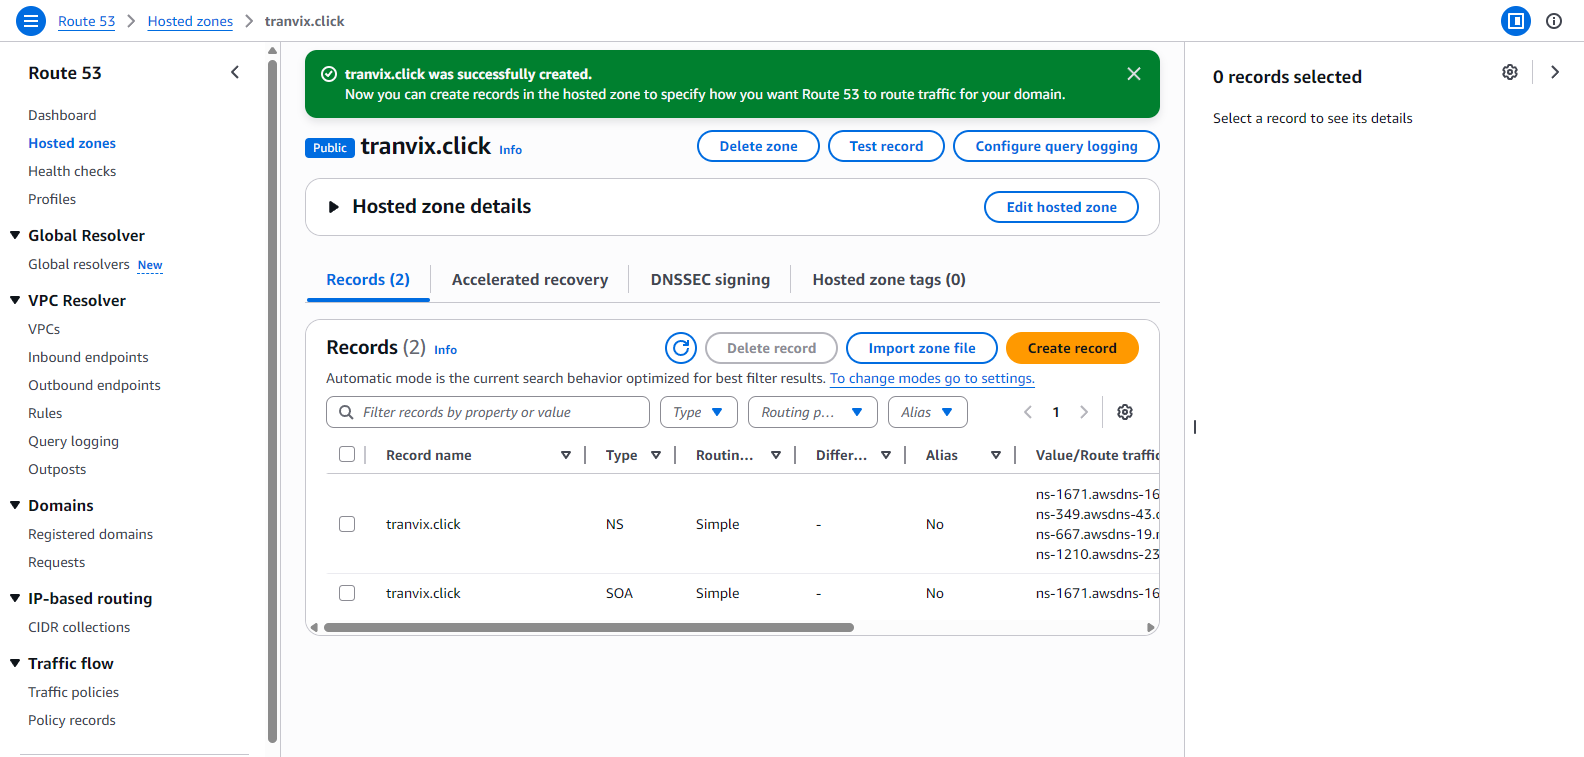
Expand Hosted zone details to view the 4 Name Server (NS) values assigned to your hosted zone.
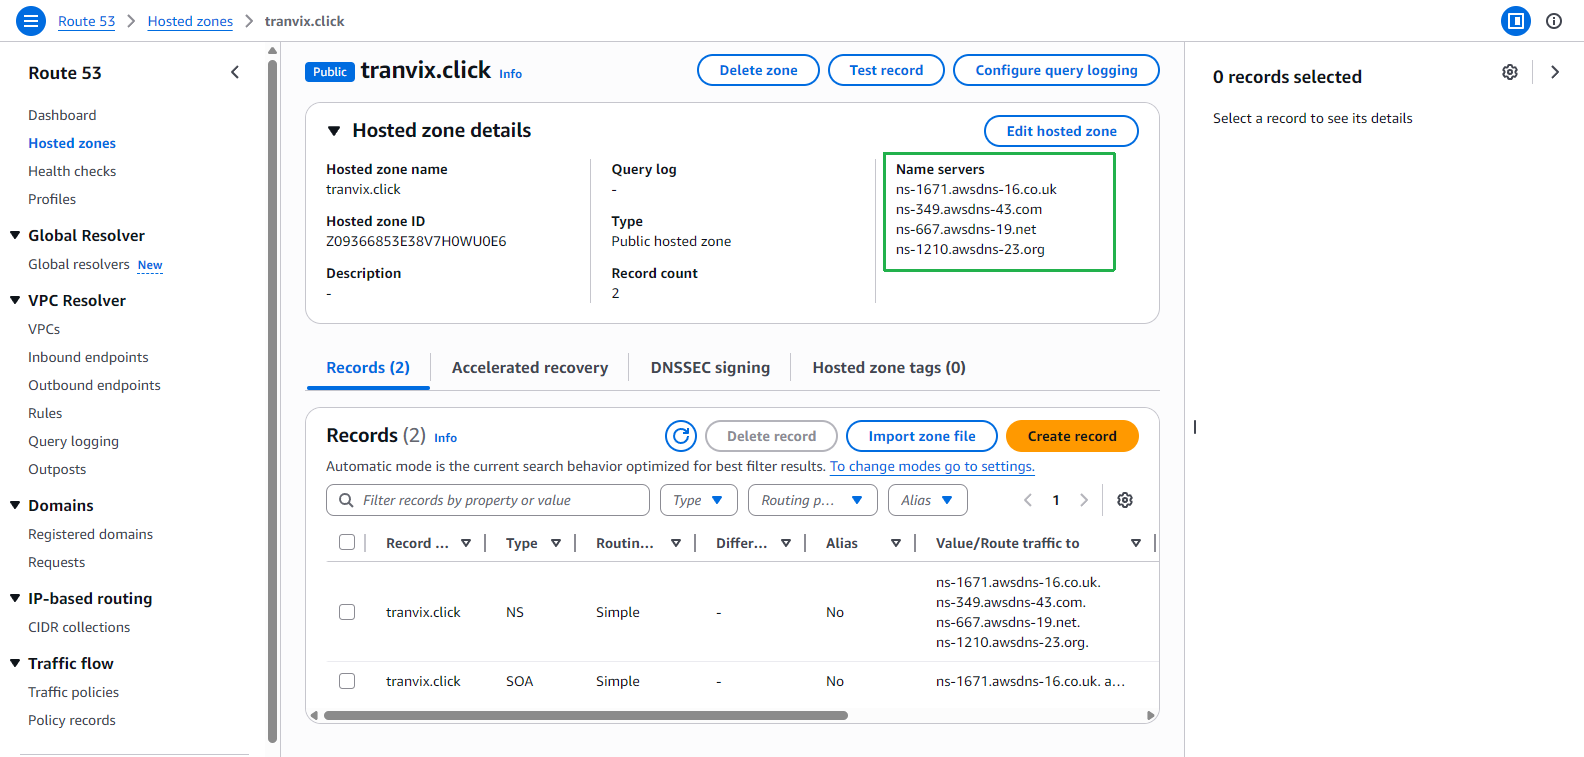
You must update the Name Server records at your domain registrar (the company where you bought the domain) with the 4 NS values shown above. This tells the internet to use Route 53 for DNS resolution for your domain. Without this step, the SSL certificate validation and CloudFront routing will not work.
How to update NS records depends on your registrar:
- Log in to your registrar’s control panel (e.g., GoDaddy, Namecheap, etc.)
- Find DNS Management or Name Servers settings for your domain
- Replace the existing name servers with the 4 Route 53 NS values
- Save the changes — DNS propagation may take a few minutes to 48 hours
We are done creating the hosted zone. In the next step, we will request an SSL certificate with AWS Certificate Manager.